Care Habits for Printed Model Cars: Protecting Fine Detail in Daily Handling
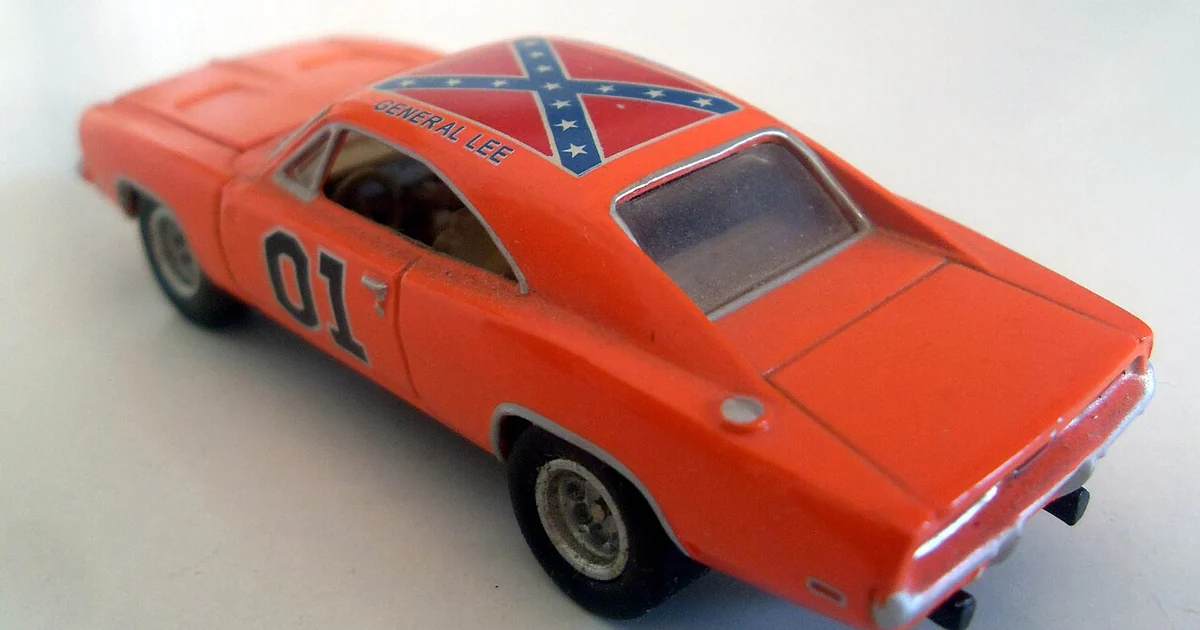
A 3D printed model car can look sharp on the day it leaves the print bed, but its fine details, thin mirrors, and articulated parts respond to everyday life. Dust settles into grooves, sunlight fades pigments, and a single careless grip can snap a side mirror or loosen a wheel. The good news is that most of this wear is predictable, and a few steady habits prevent the majority of it. This article focuses on the physical care side of collecting: how you handle, light, store, and check your printed cars over time. It does not address prices, valuations, or any particular service, and it treats the shelf as a working environment rather than a museum case.
Handling Before Display
Most damage to printed models happens in the first few minutes after unboxing and in the moments when a piece is moved from one place to another. Pick up a model by its body or chassis rather than by thin protrusions such as mirrors, antennas, spoiler edges, or exhaust pipes. Keep your fingers away from the underside of a wheel arch if the model has delicate fender lips, and avoid pressing on the roof, which can flex and crack a layer line seam.
Before you place a model on a surface, clear the surface. A stray bead, a dropped washer, or a grain of grit under the tires can scratch a finish or tilt a model that was meant to sit level. Work on a clean towel or a padded mat rather than a bare table, and keep the piece low to the surface when you set it down. Many collectors find that a short routine helps: set the model on the mat, check its stance, and only then remove your hands.
Gloves are not always the answer. Thin nitrile gloves can reduce oils from skin, but they can also slip on small parts and cause a fumble. Clean, dry hands with a light touch often do more good than a bulky pair of gloves. If you do handle a model with bare hands, wiping fingerprints soon after is easier than dealing with a greasy film later.
Light, Heat, and Finish
Printed surfaces are sensitive to light in two ways. Strong ultraviolet exposure can gradually fade colored pigments and make some resins brittle. Heat from direct sun through a window, or from a lamp placed too close, can soften adhesives and warp thin sections. The practical response is to keep models out of direct sunlight and to position display lighting so that the light source is not hot to the touch after an hour of use.
Finish is the other concern. Matte, satin, and gloss coatings all behave differently. A matte finish shows fingerprints less but collects dust in its texture. A gloss finish reflects dust less visibly but shows every smudge. Learn what finish each of your models has before choosing a cleaning method, because a method that works on a gloss clear coat may leave a dull patch on a matte surface.
Adhesives deserve special attention. Decals, badges, and small add-on parts are often held by glues that can soften in heat or crack with age. Before you display a model in a warm room, check whether any applied piece has lifted or gone soft at the edges. Note the location of any part you have reattached so you can compare it at the next inspection.
Dust, Storage, and Environment
Dust is the constant companion of any display. A soft brush, a clean microfiber cloth, and a bulb blower handle most of it. Work from the top of the model downward so loosened dust falls to the surface you have not yet cleaned. Pay attention to inside corners, wheel spokes, grille openings, and the gaps around doors and hoods, since dust accumulates there and is easy to overlook.
Enclosed storage such as a cabinet with a door can reduce dust, but it also traps humidity. In humid months, air moves less and moisture can settle on cool surfaces. Some collectors place a small dry, breathable material near the models and check it occasionally, though this is a matter of general habit rather than a guarantee. Whatever storage you choose, keep models away from heat sources, damp walls, and places where they might be knocked off a shelf.
Think about the shelf as well. Heavier models belong on lower, sturdier shelves, and delicate pieces should sit where a passing elbow cannot reach them. If you have a sensitive zone near a door or a busy walkway, consider moving the most fragile cars elsewhere.
A Simple Maintenance Checklist
A repeatable routine is more useful than occasional heroic cleaning. Use the following plain checklist as a starting point and adapt it to your collection.
First, at each visit to the display, look for dust on tops and in openings, and brush it away gently. Second, check each model's joints, hinges, and wheels for looseness or grit, and note anything that feels stiff or sticky. Third, inspect applied parts such as mirrors, badges, and decals for lifting or cracking. Fourth, confirm that the shelf and surface are level and stable. Fifth, record any change in color, finish, or fit in a simple notebook with the date, so you can compare over time.
Once a season, consider a deeper check: remove small loose accessories from their mounts, look at wheel axles and joints under good light, and confirm that display lighting has not crept closer to the models than you intended. These routines are general practice, not promises of any particular outcome, and your own collection will reveal which steps matter most.