Reading the Limits of a Scan: Verifying a Collectible's Identity Step by Step
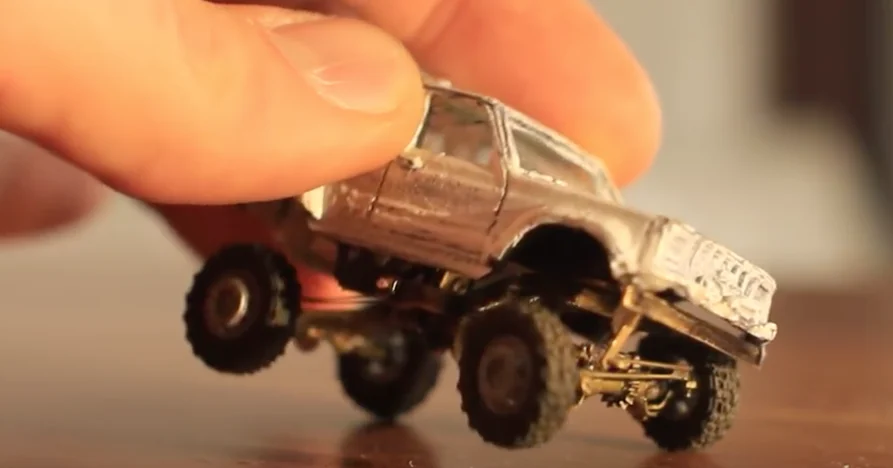
A verification scan is a useful tool, but it answers one specific question. Collectors who treat a clean result as the end of their inquiry often overlook gaps that a single check was never designed to close. This article offers a way to think about authenticity checks as one input among several, so that your conclusions match the evidence you actually have. The method below is general and applies to any collectible that carries a tag or code, including printed model cars.
Start by Naming the Question
Before you scan anything, write down the exact question you want answered. Authenticity is a broad word. Do you want to know that a tag has not been copied from another piece? Do you want to know that the object in your hands matches the record the seller described? Do you want to know whether the piece was sold by a particular source? Each of these is a different question, and each requires different evidence.
A useful habit is to write the question on the same card or note where you keep the piece's details. When the scan returns a result, compare it to the written question rather than to a general feeling of reassurance. This small step prevents a common error: reading a confirmation about one thing as if it confirmed everything.
Separate What the Tag Says From What the Object Shows
A tag is a claim attached to an object. The object itself is a separate body of evidence. When you examine a piece, note the physical features you can observe directly: surface finish, print lines, joint fit, paint or film coverage, the condition of the base, and any markings that are part of the design rather than the tag. Record these without interpreting them yet.
Then compare your observations to the scan result. If the tag verifies but the physical description does not match what the seller or prior record described, you have a discrepancy to investigate. If both line up, you have stronger grounds for confidence, though still not complete certainty. Keeping these two streams separate makes it easier to notice when one is telling a different story than the other.
A Checklist for Each Scan
Use a short checklist each time you verify a piece. First, write the date and time of the scan and the piece's identifier as you recorded it. Second, record the result exactly as displayed, without summarizing it into a stronger statement. Third, note what the result does not address, such as who held the piece before you, whether it was altered after leaving the maker, or whether the description in your records is accurate.
Fourth, list the open questions. Examples include: Where did this piece come from, and what documents exist for that transfer? Has the object been repaired or refinished? Do my photos from the day I received it match its current appearance? Fifth, decide what action each open question needs. Some can be answered by asking the previous owner for records. Others can be answered only by comparing future photos to present ones. Writing these actions down keeps the process honest and repeatable.
Finally, date your conclusion and mark it as provisional where appropriate. A verification record that says what was checked and what remains open is far more useful to you later than one that reads as a blanket endorsement.
Judging Gaps Without Overreaching
The most common mistake is to read a clean scan as proof of everything about a piece. A scan can establish that a specific code was recognized in a particular way. It does not automatically establish the chain of ownership, the condition history, or the intentions of anyone who handled the object. Be precise in your notes. Write 'the code returned a verified result on this date' rather than 'this piece is fully authenticated.'
Equally, avoid dismissing a verification simply because some questions remain open. Open questions are normal for most collectibles, especially older or secondhand ones. The goal is clarity about which questions are settled and which are not, so that your decisions about display, storage, and any future transfer rest on accurate foundations.
Building a Record That Answers Future Questions
Over time, your verification notes become a small archive. Keep them alongside photographs, acquisition notes, and any correspondence about the piece. When you revisit a model after months or years, compare its current appearance to your earlier photos and rescan if you need to confirm the identifier is still in place. A record that shows what you checked, when, and what you concluded at each step is the most durable form of documentation a collector can keep.