Care Routines for Printed Models After the Shelf Stops Being New
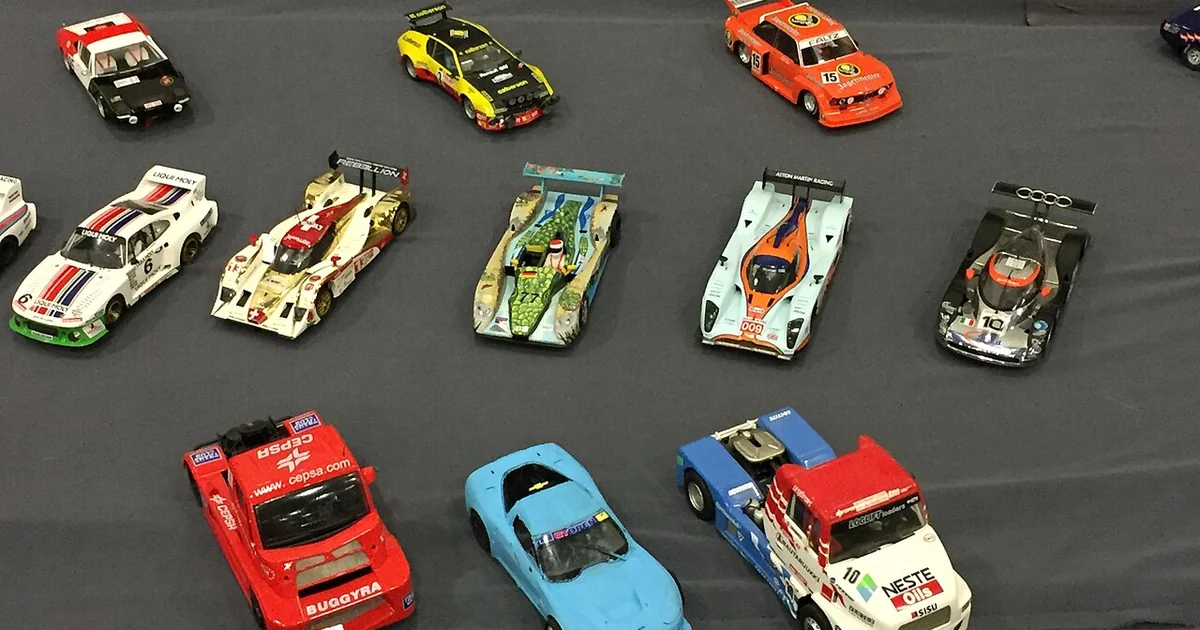
Many collectors focus their attention on the moment a printed model arrives: the unboxing, the first photo, the decision of where it will sit. Far less thought goes to the months and years that follow, when a model has already found its place and the small stresses of ordinary life begin to accumulate. Printed car bodies, chassis parts, wheels, and articulated joints all respond to handling, light, temperature, and time in different ways. This article describes a maintenance mindset for printed model cars that prioritizes observation over intervention, so that small changes are noticed early and handled calmly.
Start With a Baseline You Can Compare Against
Care becomes much easier when you know what a model looked like at the start. Within a few days of receiving a piece, photograph it under the same lighting you normally use for display. Capture the front three-quarter view, the side profile, the wheels, and any area with fine surface detail such as grilles, panel lines, or lettering. Note the date and a one-sentence description of the finish, such as matte, satin, or slightly glossy.
This baseline does not need to be elaborate. Its purpose is to give you something to compare against in six months or two years. Without it, gradual changes like slight yellowing, a softened edge, or a loosened joint are easy to dismiss because each step seems too small to matter. With it, a side-by-side comparison makes change visible and gives you a factual basis for deciding whether any action is needed.
A Periodic Inspection Routine
A simple inspection cycle works better than reactive care. Once a month, or once a season for pieces that rarely move, run through a short checklist. Look at surfaces under bright, indirect light and again at a low angle, since raking light reveals scuffs and dust film that direct light can hide. Check edges and corners for lifting, chipping, or a dull patch where handling has worn the finish. Gently test any articulated joint, wheel axle, or removable panel to see whether it moves as smoothly as before without forcing it.
Record what you find in a single line, even when the answer is nothing. A log with entries like 'no change' over many months is valuable, because it establishes that the piece is stable. When you do notice something, write down the date, the location, and what you think caused it, such as a sunny window, a hand grip, or a change in room humidity. Patterns usually emerge from these notes faster than from memory.
Handling, Light, and Environment
Most long-term wear on display pieces comes from handling and light rather than from any single dramatic event. Hold a model by its body or chassis rather than by a mirror, spoiler, or thin antenna. Use both hands for larger pieces, and set them down on a padded surface rather than a hard shelf edge. Avoid repeatedly flexing an articulated part past its natural range, because repeated strain at a joint is a common cause of loosening over time.
Light affects color and finish gradually. Direct sunlight, and in some cases strong artificial light held close for long periods, can fade pigments and change the appearance of certain resins and filaments. Position displays away from direct sun, or rotate pieces that receive more exposure. Temperature and humidity also matter. Sudden swings, such as moving a model from a cold car or storage space into a warm room, can cause condensation on a cool surface, so allow pieces to acclimate gradually. Stable conditions are generally kinder to printed materials than dramatic changes, whatever the specific material.
Cleaning Without Overcorrecting
Dust is the most common issue on any display, and the safest response is restraint. Use a soft, dry brush or a clean microfiber cloth in the direction of the surface rather than rubbing in circles. Compressed air can dislodge dust from grilles and wheel wells, but keep the nozzle at a distance and avoid pushing debris deeper into fine detail. Before using any liquid, test it on a hidden area and confirm that it does not change the finish. When in doubt, leave the piece as it is and note the question in your log. Many collectors cause more harm by trying an unfamiliar cleaner than by living with a light dust layer.
Adhesive residue from labels, tape, or old packaging deserves special caution. Remove these slowly, and stop if the finish begins to lift. Recording the issue before you act gives you a fallback if the result is worse than expected.
A Short Checklist for Ongoing Care
Keep these questions handy during each inspection. Has the finish changed in tone, sheen, or texture since the baseline photo? Do edges, corners, or fine parts show new lifting, chipping, or softening? Do articulated joints move as smoothly as before, or do they feel loose, gritty, or stiff? Is the piece in direct light for long periods, and has its position changed recently? Has the room's temperature or humidity shifted noticeably with the seasons? Has any handling or cleaning happened since the last inspection that might explain a change?
If the answer to most of these is no, the routine is doing its job. If several answers are yes, look for a shared cause, such as a new window placement or a seasonal humidity change, before changing products or methods. Care is usually most effective when it is calm, documented, and consistent, and when it treats each change as information worth recording.