Care Habits That Keep a Printed Model Car Looking Right for Years
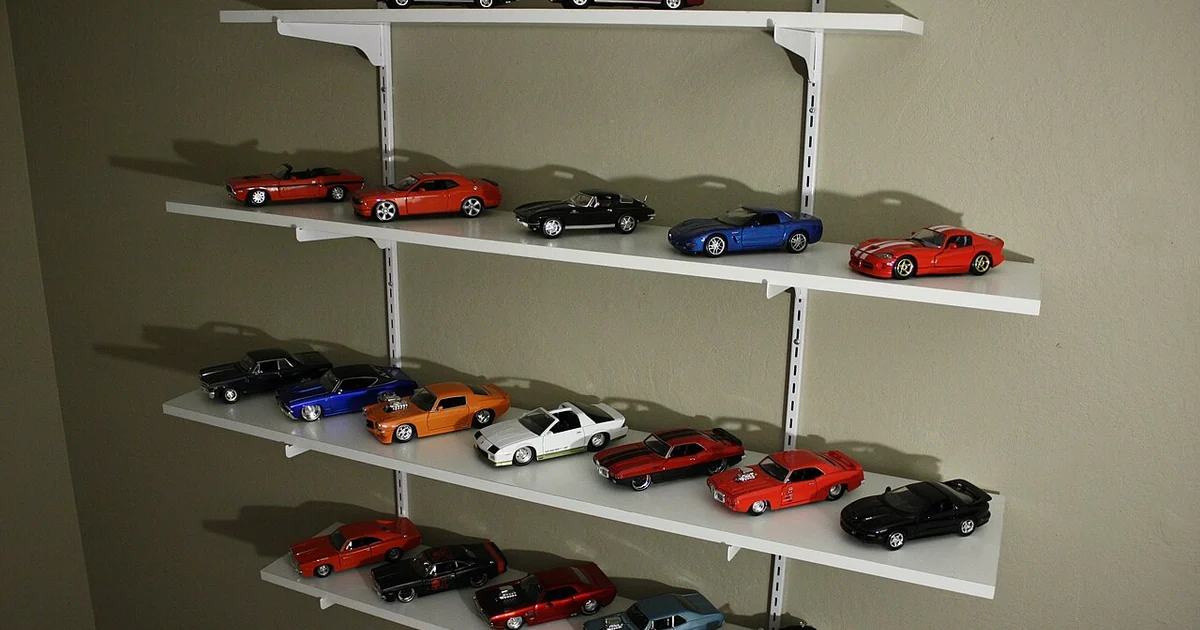
A 3D printed model car is a layered object, and its appearance depends on how its surface, edges, and moving parts are treated after the day it arrives. Many collectors assume that a well-made piece will stay sharp on its own, but most visible wear comes from routine habits rather than dramatic accidents: a thumb pressed on the same panel for years, a bright window that slowly warms the paint, or a dusting cloth that carries grit across the roof. This article walks through a set of practical habits that protect detail without requiring specialized equipment. The goal is not perfection but a steady pattern of care that you can explain, repeat, and adjust as your collection grows.
Start With Handling, Because Most Wear Begins There
Before thinking about cleaning products or display cases, look at how you pick up and move each model. Layered surfaces tend to show fingerprints and abrasion along the edges of doors, the rims of wheels, and the front bumper where people naturally grip. A useful habit is to lift a model by its body or base rather than by delicate protrusions such as mirrors, antennae, or spoilers, which are often the thinnest and most easily stressed parts.
Set a simple rule for yourself: one hand supports the mass, the other guides. Avoid carrying several models stacked on top of each other, since a single slip can chip corners that took care to finish. When you photograph a piece, place it on a padded surface rather than a hard table so that a bump does not translate into a fractured edge.
Manage Light, Heat, and Air as Quiet Long-Term Forces
Light and temperature change how printed surfaces age. Direct sunlight through a window can warm one side of a model more than the other, which may slowly alter paint appearance and make adhesive joints more flexible than intended. Rather than trying to measure exposure precisely, treat sunlit shelves as a question to answer: does this location receive strong afternoon light, and has any model in that spot shown a change in color or surface sheen? Moving a few pieces to a shaded shelf is a low-cost experiment that gives you real evidence.
Heat sources deserve the same attention. Models placed near radiators, heating vents, or electronics that run warm for hours should be checked periodically for softened finishes or warped mounting points. Air circulation matters too. A closed glass cabinet with no airflow can trap humidity, so consider whether your display allows the air to move at all, and whether that suits the materials you own.
Clean Gently and Keep a Routine You Can Repeat
Dust is the most common enemy of fine surface detail, but aggressive cleaning removes more than dust. A soft brush, used lightly and in one direction, lifts loose particles from grille lines and wheel spokes without forcing grit into recesses. For fingerprints, a barely damp microfiber cloth is generally a safer first step than anything with solvents, and you should test any new method on an inconspicuous area first. Work slowly and stop if the surface begins to look different.
Turn cleaning into a schedule rather than an event. A monthly pass with a brush across each shelf, plus a quick wipe of models you touch often, keeps buildup from becoming a stubborn problem. Writing the date next to each cleaning in a notebook makes it easy to notice when a piece needs extra attention.
Check Joints and Moving Parts on a Fixed Cycle
Articulated models, with hinged doors, steerable wheels, or removable panels, need a different kind of attention. Joints loosen gradually, and a door that swings a little too freely today may bind or crack later if the hinge is repeatedly forced. Once every few months, gently open and close each moving part and note any change in resistance, play, or sound. Do not force a stuck component; instead, record the problem and check whether it relates to temperature, dust, or repeated handling.
Connectors and tabs deserve the same inspection. Look for stress lines around attachment points, and avoid pulling on a part to test it. A short log entry such as 'rear hatch slightly loose, no cracks visible' is far more useful later than trusting memory.
A Practical Checklist for Your Next Care Session
Use this list as a plain-language reference during each care session. First, confirm that each model is on a stable, padded surface and that no piece sits in direct sun for long periods. Second, dust with a soft brush, moving in one direction, and wipe fingerprints with a barely damp cloth, testing any new method on a hidden area first. Third, open and close every moving part and note any new looseness, binding, or stress marks. Fourth, check the air and temperature around each display zone and move pieces away from heat sources. Fifth, record the date and any observations in your collection notes.
Care is most valuable when it is consistent and documented. A few minutes each month, repeated over years, will tell you more about your pieces than any single deep cleaning. Adjust the routine as you learn how each material behaves in your space, and keep the habits you can actually maintain.