Keeping a Repair and Modification Diary for Printed Model Cars
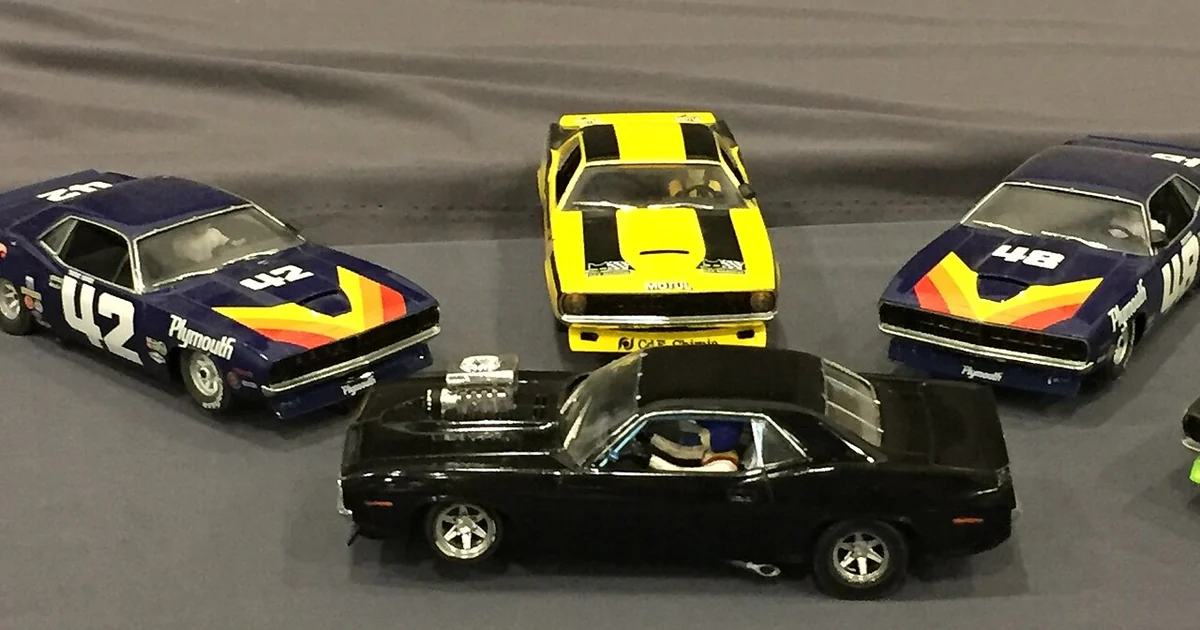
Most collectors record what they buy and what they paid, then stop. The longer part of a model car's life, however, happens after the box is opened: a wheel gets re-glued, a hinge is tightened, a clear coat is touched up, or a replacement part is fitted from a different batch. Without a written trail, those changes blur together, and a few years later even the owner may not remember which parts are original. A repair and modification diary solves this problem. It is a simple, dated record that separates what the piece was from what it has become. This article describes how to set one up, what to write in it, and how to use it when you later need to answer questions about a specific car.
Why a Separate Diary Beats Memory
Memory is unreliable for small physical details. You may remember that a suspension arm was reinforced, but not whether it happened before or after you photographed the car for your index. A diary creates a timeline that does not depend on recall. Each entry should answer four basic questions: what changed, when it changed, who or what made the change, and what the piece looked like before.
Keep the diary separate from your purchase records. Purchase records describe how you acquired a model. A repair diary describes how the physical object has been handled since. Mixing them tends to produce entries that are vague, such as 'fixed wheel,' which tells a future reader nothing about which wheel, what material was used, or whether the original part still exists.
Building an Entry Template You Will Actually Use
A good entry is short enough that you will write it the same day, yet specific enough to be useful later. A practical template includes the model name and a unique internal reference you assign, the date, the category of change (repair, replacement, cleaning with a product, modification, or inspection), a description of the work, the materials or parts involved, and a before-and-after photo reference. If you do not have a photo, write a one-line description of the visible condition before you started.
Assign each model a reference code that you write on a card stored with the piece or in your index. Avoid relying on scale or color alone, since many collections contain near-identical variants. The code lets you tie every diary entry to one object without ambiguity.
Recording Replacements and Original Parts
Replacement parts deserve their own care. When you swap a component, record the original part's status: whether you kept it, where it is stored, and why it was removed. Keeping removed originals in labeled bags is a low-cost habit that preserves your ability to restore the piece later or show exactly what changed. If you discard an original, write that down too, along with the date and the reason.
Note the source of any replacement part in general terms, such as 'printed in-house from a reprint of the same file' or 'purchased loose from another collector.' Do not invent detail you do not have. An honest entry that says 'source unknown' is more valuable than a confident entry that later proves wrong.
Using the Diary When Questions Come Up
The diary earns its keep when someone asks a specific question. Suppose a buyer, a fellow collector, or your own future self wants to know whether the paint on a particular car is original. A well-kept diary answers that directly: the last recorded finish work was a light touch-up on a named panel, on a stated date, with the product described. Without the diary, you would be guessing from appearance alone, which is risky.
Use the diary to check the claims you make. If you tell someone a piece is fully original, test that statement against your entries first. Many collectors discover that a single unrecorded repair has made an earlier description slightly inaccurate. Correcting your own records is far better than being corrected later.
A Short Checklist for Your Diary Routine
Start each entry the same day as the work. First, confirm the reference code on the piece matches the card. Second, photograph the condition before any change, using consistent lighting and a neutral background. Third, write one line describing the change in plain language. Fourth, list materials and any part removed or added, noting where removed parts are stored. Fifth, record the date and your initials or a consistent identifier. Sixth, once a quarter, read back through the entries for one model and check that the timeline still makes sense.
Review the diary whenever you add a new piece to a shelf or move a display. Movement is when handling damage and unrecorded fixes tend to occur. Treat the diary as a living document: the goal is an honest, dated account of the car as it is now and how it got there, not a perfect record of a pristine object.