Care Routines for Printed Car Models: Joints, Finishes, and Storage Checks
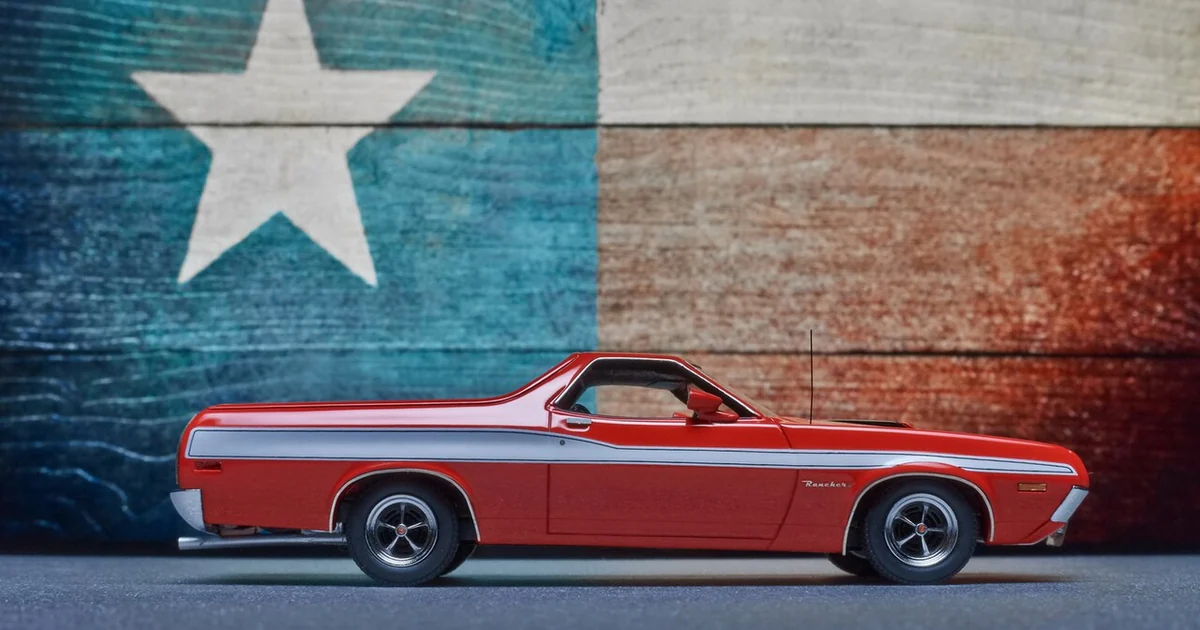
A 3D printed model car is a layered object, and its condition depends on more than how it looked the day it was finished. Plastic reacts to temperature, sunlight, and repeated handling. Joints loosen, paint edges lift, and fine surface lines can soften or collect grime. Collectors who build a simple, repeatable care routine tend to keep their pieces looking consistent for years rather than discovering damage only when it becomes obvious. This article covers a practical approach focused on the parts of a printed car that most often change over time: moving joints, painted and clear-coated surfaces, and the places where a model is held, stored, or displayed.
Start With a Baseline Inspection
Before you can tell whether a model is changing, you need a record of how it looked when you first examined it. Set aside a few minutes for each piece and note the condition in plain language: whether the wheels turn freely, whether any panels sit unevenly, where the paint is sharpest, and whether there are any existing chips, scuffs, or stringing marks left from printing.
Photograph the model under the same lighting each time you return to it. Consistent lighting makes it far easier to spot subtle changes such as a faint haze on a glossy finish or a slight shift in a hinged part. A simple note with the date, the lighting used, and two or three observations is enough. Over several inspection cycles, these notes become a reliable history that shows what is stable and what needs attention.
Checking Moving Joints and Connectors
Articulated parts such as steering linkages, doors, hoods, and suspension components are where printed models most often show wear. Gently test each moving element through its full range without forcing it. Look for grinding, catching, or a looseness that was not present at the baseline. If a joint feels stiff, check for debris or dried residue before assuming the part has deformed.
When cleaning joints, use a soft brush or compressed air at low pressure rather than liquids that might soak into layer lines. Avoid oils unless you have confirmed that the material is compatible with them, since some lubricants can soften or discolor certain plastics. If a connector is worn, the safest first step is to stop handling that piece aggressively and document the change, rather than attempting repairs that could alter the model's original state.
Protecting Finishes From Light, Heat, and Handling
Surface finishes are sensitive to their environment. Prolonged direct sunlight can fade pigments and make clear coats yellow, while heat from nearby lamps or a sunny windowsill can soften some plastics and cause paint to lose adhesion. Position displays away from strong light sources and avoid placing models near heating vents or radiators. A display case with a lid reduces both dust and light exposure, though you should still check that the interior stays at a reasonable temperature.
Handling is the other major source of surface change. Oils from skin, abrasion from fingernails, and bumps against shelf edges can all leave marks that accumulate unnoticed. Hold models by their chassis or a flat base rather than by delicate mirrors, antennas, or spoilers. Wash your hands before handling, and keep a dedicated microfiber cloth for dusting so that grit is not dragged across the paint.
A Practical Care Checklist
A repeatable routine is easier to maintain than occasional bursts of attention. Each inspection cycle, work through the same short list: confirm that the model is stable on its base, test each moving joint through its range, look for new chips or hazing under your standard lighting, dust the surfaces with a soft brush, and confirm the display location still avoids direct sun and heat. Record anything that differs from your last note, even if it seems minor.
For storage, keep pieces in a clean, dry area with stable temperature. Separate models so that protruding parts do not press against neighbors, and consider small padded supports for tall or fragile components. Keep original packaging or similar protective materials when available, but make sure they are free of moisture and residue before use.
Questions to Ask About Your Own Routine
A care routine should fit your collection rather than follow a generic template. Ask yourself how often you handle each piece, which environments your display areas face, and whether certain models have joints or finishes that need closer attention. A collection that is rarely touched may need less frequent joint checks but more attention to light exposure, while a piece that is regularly posed or moved may need a tighter inspection schedule.
Finally, consider how you will know when a change is significant enough to act on. Decide in advance what counts as a meaningful difference, such as a joint that no longer holds position or a finish that has visibly dulled. Clear thresholds keep your decisions consistent and prevent you from overreacting to normal variation in lighting or dust. Over time, your notes will show you exactly how each model responds to its environment, which is the most useful knowledge any collector can have.