Sorting Your Model Car Collection by Tag Status and Verification Status
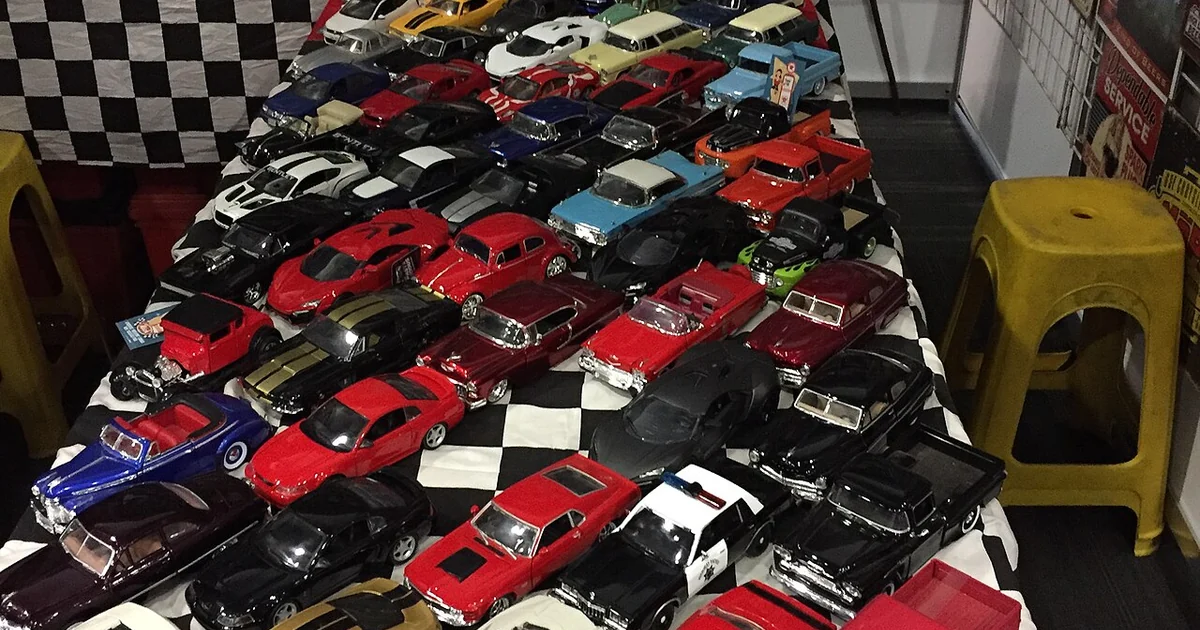
Most model car collections grow in a messy way. A piece arrives, a shelf fills up, and only later does the collector wonder which items came with a verifiable identity and which were accepted on trust. Sorting by verification status, rather than only by scale, manufacturer, or color, gives you a clearer picture of what you own and how much confidence each item deserves. This guide walks through a method for doing that sort, the questions to put to each item, and the records worth keeping alongside the cars themselves.
Why Verification Status Deserves Its Own Category
Scale and maker are useful for display, but they say little about whether a given piece is what its seller or label claims it to be. Two models of identical scale can have completely different levels of documentation behind them. One may have a readable tag, a clear origin, and a record of how it was acquired. Another may have nothing more than a description someone typed into a listing.
Sorting by verification status separates items into groups that call for different handling. Items you can trace through several independent points deserve different care than items you know only from memory. This also helps you decide which pieces to research further and which to simply enjoy.
The categories do not need to be elaborate. Three or four is usually enough: items with a verifiable identity you have checked yourself, items with a claimed identity that you have not yet checked, items where the claim is in doubt, and items whose origin you never documented at all.
Questions to Ask Before Assigning a Status
Before you place an item in a group, ask what, specifically, supports its identity. A label on the base, a certificate, a receipt, a photograph taken at purchase, or an explanation from the seller are different kinds of evidence, and they vary in how much they can be trusted. Write down which kind you have rather than relying on a general feeling of confidence.
Next, ask whether the evidence can be checked independently of the person who supplied it. A receipt that names a seller is only as reliable as that seller's records. A tag that can be confirmed through a separate process is stronger than one that simply repeats the claim. If a check depends entirely on trusting the party selling you the piece, mark that dependence clearly.
Finally, ask what would change your mind. If a piece's paperwork turned out to be incomplete, would you downgrade it? If a physical feature did not match the description, what would you do? Deciding these responses in advance keeps your sorting honest when an item later raises a doubt.
A Practical Sorting Routine
Start by walking through the collection once without making changes. Pick up each item, note what identifying information it carries, and jot down its source if you know it. Do not judge yet. The goal is an inventory, not a verdict.
On a second pass, assign each item to a verification group using the questions above. Keep a short note beside each assignment stating the basis for it, such as 'base label readable, receipt from original purchase' or 'no documentation, acquired secondhand.' These notes are what make the grouping useful later.
Third, handle the uncertain items separately. Rather than forcing a decision, leave them in a holding group and list what additional information would move them. Sometimes a missing receipt turns up, or a seller answers a question. Often nothing changes, and that is also a useful result: it tells you where your collection's real gaps are.
Finally, repeat the review periodically, especially after acquiring new pieces. Verification status is not permanent. A piece you grouped with confidence years ago may deserve a fresh look if your standards or your knowledge have changed.
Records That Support the Sort
A grouping is only as good as the records behind it. Keep a simple file for each item that holds its source, the date you acquired it, the price you paid, and copies of any paperwork. Photograph the identifying features you relied on, including the base, labels, and any markings. These photographs are valuable because they capture the piece as it was when you assessed it.
If you use a digital list, include the verification group, the basis for it, and the date of your last review. Avoid recording claims you have not checked as though they were facts. A clearly labeled 'unverified' entry is more useful to future you than a confident entry that turns out to rest on nothing.
When a piece changes hands, transfer its file with it. The paperwork a collector gathers is often lost when a collection is split or sold, and an organized record protects both the item's history and the next owner's ability to judge it.
A Short Checklist for Each Item
Use this sequence when you review a piece. First, record what identifying information is physically present on the item. Second, list every document or statement that supports its identity, and note who produced each one. Third, judge whether each piece of support can be checked independently or depends only on trust. Fourth, assign the item to a verification group and write the basis in one sentence. Fifth, note what new information would change the assignment. Sixth, file your photographs and documents together and date the entry.
Working through this checklist for even a portion of your collection each week produces a clear, honest map of what you own. Over time, that map becomes one of the most valuable things a collector keeps, because it turns a shelf of objects into a body of knowledge you can actually defend.