Caring for 3D Printed Model Cars: A Maintenance Routine That Protects Detail
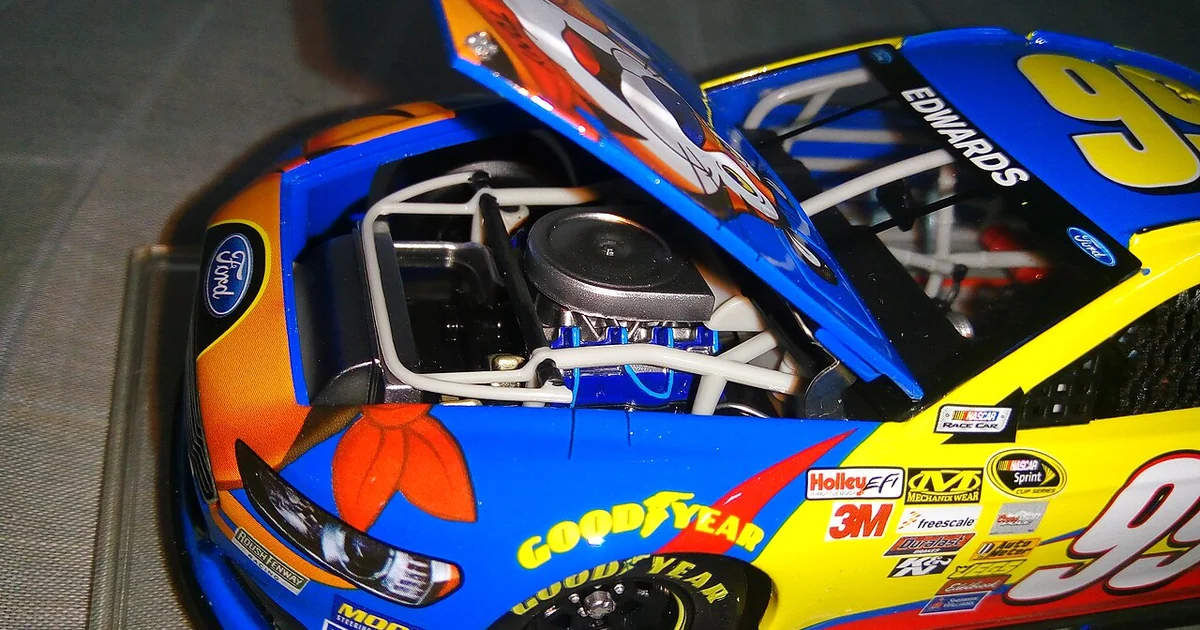
Printed model cars reward careful attention. Fine body lines, thin mirror stalks, and delicate grille inserts can look excellent on day one and then slowly degrade through dust, oils from fingertips, sun exposure, and small impacts. Unlike a cast or diecast piece, a printed model is built layer by layer, and its surface texture, infill pattern, and material behavior all influence how it ages. This article offers a general maintenance routine you can adapt to your own pieces. It does not promise any particular outcome, and it focuses on methods and questions rather than product claims.
Start by Knowing What You Own
Before you clean or store a printed model, identify what it is made of, how it was finished, and whether it has any removable or fragile parts. Some pieces are printed in a single body with fused wheels, while others use separate chassis, axles, or clip-in details. Each construction type responds differently to handling and cleaning. Check whether the surface was sanded, primed, painted, or left in its raw printed state, since raw layer lines hold dust more readily than smooth primed surfaces.
Make a short note for each piece listing its material if known, its finish, and any parts that should never be pulled or twisted. This takes a few minutes and prevents the most common damage: forcing a part that was only meant to sit in place. If you do not know the material, treat the piece as one that can be softened by heat and solvents until you learn more.
A Gentle Cleaning Routine
Most dust removal does not require liquid at all. Start with a soft, dry brush, such as a clean makeup brush or a fine artist's brush, and work from the top of the model downward so that loosened dust falls away rather than settling into recesses. Use short strokes and avoid pressing hard into grilles or vents. Compressed air can clear deep recesses, but hold the nozzle at a distance and use short bursts, because a close blast can lift paint or loosen small parts.
When a piece has fingerprints or residue, use a barely damp microfiber cloth with plain water, then dry immediately with a second dry cloth. Avoid soaking the model, and do not assume that a cleaner safe for one finish will suit another. Test any cleaning agent on an inconspicuous area first and wait for it to dry fully before judging the result. Keep a log of what you used on each piece so you can trace any change back to its cause.
Handling and Display Habits
Hold a model by its body or chassis, not by protruding mirrors, antennas, or spoilers. Set it down on a padded surface, and lift it straight up rather than sliding it across a shelf edge. Many damage incidents happen during transfers, not while the model sits still. Wash your hands before handling pieces you intend to keep long term, since skin oils can darken or soften some finishes over time.
Light and temperature also matter. Direct sunlight can fade pigments and warm a model enough to deform softer materials. Position displays away from windows and heating vents, and avoid sealed cases that trap humidity without ventilation. A cabinet with a stable interior temperature and some airflow is generally more forgiving than a sunny shelf.
Storage Checklist
Use this plain checklist before putting a model away or moving it to a new display. Confirm the piece is completely dry after any cleaning. Remove dust with a brush and check recesses for trapped grit. Verify that loose parts are stored in labeled containers rather than left inside the body. Wrap the model in acid-free tissue or a soft cloth if it will sit in a drawer, and keep it upright or supported so that thin parts are not bearing weight. Note the date of the last inspection in your collection record.
Inspect each stored piece every few months. Look for paint lifting at edges, soft spots that yield to light pressure, warping along long flat panels, and any discoloration. Catching a small change early usually makes it easier to address than discovering it after a piece has been forgotten in a box.
Questions to Ask When Something Changes
When a printed model starts to look different, resist the urge to fix it immediately. Ask what changed, when you first noticed it, and what the piece was exposed to in the preceding weeks. Did it move to a sunnier location? Was it cleaned with a new product? Was it stored in a closed container during a warm period? Answering these questions in writing turns a vague worry into a specific clue.
Also ask whether the change is cosmetic or structural. A slightly dull finish is usually a surface concern, while a warped panel or a loose mount may affect the piece's fit and long-term stability. Keep records of photographs taken at regular intervals, since comparing images over time is one of the most reliable ways to see slow change that is hard to notice day to day. For anything beyond routine dust and light cleaning, consider consulting the maker's own guidance for that specific piece, if it is available.