Organizing a Model Car Collection by Provenance, Not Just Scale
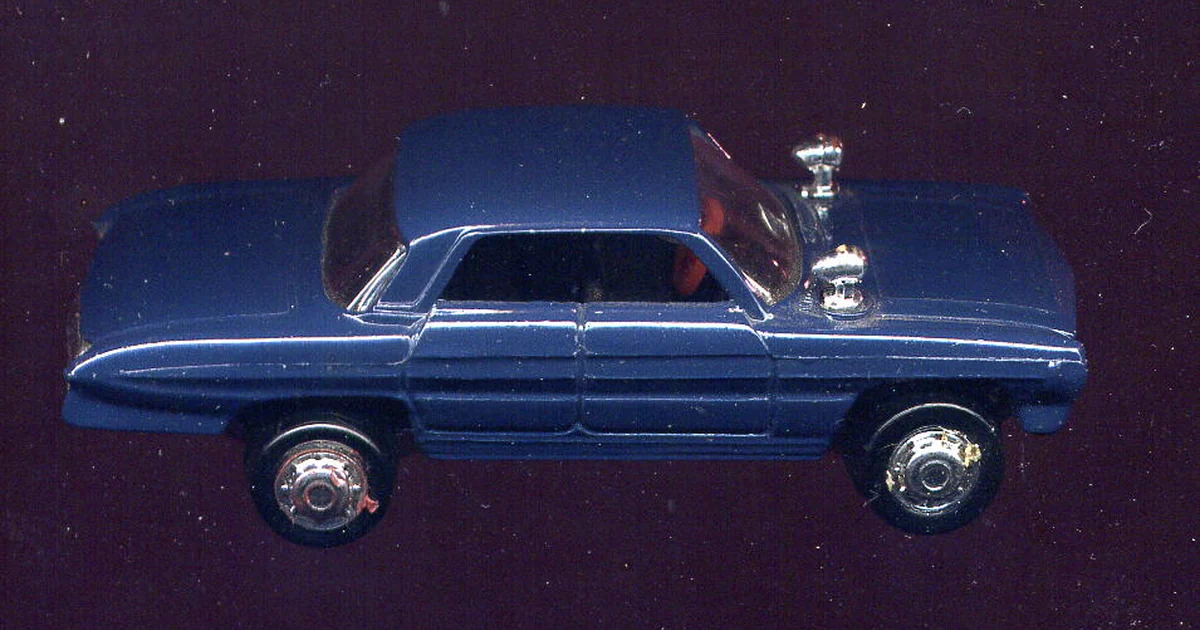
Most collectors start by sorting their model cars the obvious way: by manufacturer, by scale, or by the color of the shelf they happen to sit on. Those methods work for a while, but they break down as a collection grows and pieces change hands. A more durable approach is to organize by provenance, meaning the documented path a piece took from its maker to your shelf. Provenance-based organization makes it easier to answer the questions that matter most, such as where a model came from, what it was made from, and whether you can show that history to someone else. This article walks through a practical method for building that kind of system, along with a checklist you can adapt to your own collection.
Why Scale and Brand Are Not Enough
Grouping by scale is useful for display, since 1:18 and 1:64 pieces look better together and fit different cabinets. Grouping by brand helps with shopping and comparison. Neither approach tells you anything about a specific piece's history. Two models from the same maker and the same scale can differ enormously in how they were produced, whether they were a limited run, and whether the seller who sold them to you could say where they originated.
Provenance-based organization asks a different set of questions. For each item, you record its origin, its production method, the date you acquired it, the source you bought it from, and any paperwork or digital records that accompany it. Over time this produces a collection you can navigate by history rather than by appearance, which becomes valuable when you want to resell, insure, trade, or simply remember why a piece matters to you.
Building a Record for Each Piece
Create one record per item rather than one record per shelf. A simple spreadsheet or a dedicated collection app can work, as long as every entry has the same fields. Useful fields include a unique internal ID you assign yourself, the make and model, scale, production year if known, acquisition date, acquisition source, purchase price in your own records, condition at arrival, current location, and a notes column for anything unusual.
Photograph each piece when it arrives, before it gets placed on a shelf, and store the photos alongside the record. Photograph the base or underside as well as the front, because identifying marks are often there. Take a photo of any packaging, certificate, or card that came with the piece and keep those items together in a labeled envelope or archival sleeve. A record that combines your notes with photos is far more useful than memory alone, especially years later.
Asking the Right Questions at Acquisition
The most valuable organizing work happens at the moment you acquire a piece, because that is when the history is easiest to confirm. Before you commit to a purchase, ask the seller where the piece came from, whether they are the original purchaser, and whether they can share any documentation. Ask whether the piece was produced in a limited run and how that run was documented. If the seller cannot answer these questions, that does not automatically mean the piece is problematic, but it does mean you should record the gap in your notes so you know what is unverified.
Ask about condition and any repairs or repaints. A piece that has been restored may still be a fine addition to a collection, but it should be recorded as restored, with details of what was altered. Ask whether any parts are replacements, such as wheels, windows, or decals, and note them. Collectors who record these details consistently find that their collections are easier to value and easier to explain to others.
Verifying Authenticity Where Tools Exist
Some pieces come with built-in verification features, such as a printed code, a tag, or a scannable mark. When a piece carries such a feature, record exactly what it is, where it is located on the piece, and whether you were able to check it. Note the date of any check and the result, and store a photo of the code itself. Do not assume that a feature is present on every piece from a given maker. Check each item individually and log what you find.
Where verification depends on a seller's or maker's own system, treat the result as one piece of evidence and combine it with your other records. Ask the seller how the verification works and what it can and cannot confirm. A clear explanation from a seller is a good sign, while vague answers are a reason to record the uncertainty rather than to assume the best.
A Practical Checklist for Your Collection
Use this checklist when you bring a new piece into your collection. First, assign a unique internal ID and create a record with all standard fields. Second, photograph the front, back, underside, and any packaging, and store the photos with the record. Third, collect and store all paperwork in a labeled sleeve linked to the ID. Fourth, note the source, the date, and the price in your own records. Fifth, ask the seller about origin, limited-run status, repairs, and replacement parts, and log every answer, including the unknowns. Sixth, record any built-in verification feature, the date you checked it, and the result.
Review your records once a year. Look for gaps, such as pieces missing photos or entries missing source information, and fill them in while you still remember the details. A yearly review also gives you a chance to reorganize shelves based on what the records reveal, so that your physical layout reflects the history you have documented. A collection organized this way is easier to maintain, easier to share with family or heirs, and easier to understand decades after the last purchase.