Cleaning and Dust Control for Printed Car Models: A Gentle Routine
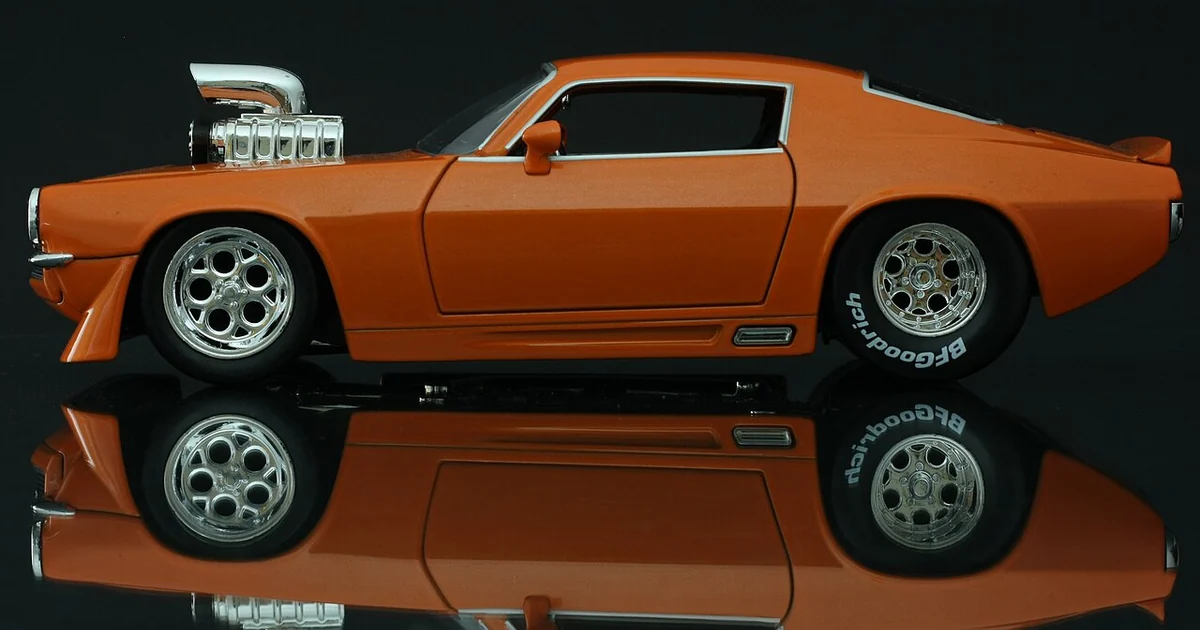
Dust is the quiet enemy of any display collection, and printed model cars are no exception. Fine particles settle into panel gaps, wheel wells, and grille openings, while fingerprints and airborne oils build up on glossy surfaces over months. The good news is that most of this can be handled with a short, repeatable routine that uses simple tools and careful technique. The goal is not to make a model look factory-new every week, but to keep detail visible and surfaces stable over the long run. This article walks through a practical cleaning approach, the questions to ask before you pick up a cloth, and a checklist you can adapt to your own shelf.
Start by Identifying What You Are Cleaning
Before you clean anything, look closely at the model. Printed bodies can have very different surface finishes: raw layer lines, sanded and primed surfaces, clear coats, metallic paints, decals, and printed-in color. Each reacts differently to moisture, solvents, and friction. A matte primed body may tolerate a slightly damp cloth, while a glossy clear coat can cloud if it is rubbed too hard or exposed to cleaners with alcohol or ammonia.
Also check for loose parts. Mirrors, antennas, wipers, and small trim pieces are often attached with minimal adhesive or friction fits. Gripping a model by these components during cleaning is a common cause of breakage. Make it a habit to hold the body by the chassis or base, and to note any part that already feels loose so you can address it separately rather than under pressure while wiping.
Use Tools That Move Dust Without Scratching
Most dust should be removed dry first. A soft goat-hair or synthetic makeup brush, a clean photographic blower bulb, and a few cotton swabs cover most needs. Blow loose particles out of grille slots and wheel arches before touching the surface with a cloth, because wiping over grit is what creates fine scratches. Work from the top of the model downward so that dislodged dust falls onto areas you have not yet cleaned.
For panels and glazing, a microfiber cloth that has been lightly dampened with distilled water is usually sufficient. Wring it thoroughly so no liquid pools in seams or under decals. Avoid paper towels, which can leave fibers and abrade finishes. Test any cleaning product on an inconspicuous spot, such as the underside of the chassis, before using it on visible paint. If you are unsure whether a product is compatible with a particular finish, the safest choice is to skip it and rely on water and gentle handling.
A Repeatable Cleaning Sequence
Consistency matters more than intensity. A short routine performed on a fixed schedule prevents buildup from becoming stubborn. A practical sequence looks like this: first, remove the model from its case or cover and place it on a padded, clean surface. Second, dry-dust with a brush and blower. Third, use a damp microfiber cloth on glass and painted panels, moving in one direction rather than in circles. Fourth, dry the surface immediately with a separate dry cloth. Fifth, clean wheels, tires, and undercarriage with a swab, then inspect the interior for debris.
Fingerprints on glossy finishes are best handled promptly. Oils left for weeks can etch some clear coats. Breathe on the spot briefly, or dampen the cloth slightly, then buff with a dry section. For stubborn marks on paint, resist the urge to scrub. Repeated friction is usually more damaging than the residue itself.
Questions to Ask Before You Clean or Restore
Before any deeper work, ask a few practical questions. Is the finish original, or has it been repainted or refinished? Are there decals that might lift with moisture? Is there any visible crack, delamination, or warping that cleaning could worsen? Does the model have a documented history of prior repairs that someone else performed? These questions matter because a cleaning method that suits a fresh print may be wrong for a model that has already been handled or modified.
If you are caring for a model acquired secondhand, ask the seller what cleaners or treatments have been used. Ask whether any parts were replaced. Keep notes on what you learn, since future cleaning decisions depend on that baseline.
A Practical Maintenance Checklist
Use this checklist as a starting point and adjust it for your display environment. Dust monthly, or more often if the shelf is near a window, a vent, or a busy room. Inspect glazing and paint under good light every few months for hazing, lifting edges, or new scratches. Check that small parts are still secure during each session. Wipe fingerprints the same day they appear when possible. Keep models out of direct sunlight and away from humidity swings, since both can affect finishes over time. Store cleaning supplies in a dedicated kit so the process stays quick and consistent.
Finally, log what you do. A simple note with the date, the areas cleaned, and any issues observed builds a record that is useful for your own reference and for future decisions about care or restoration. Good maintenance is less about dramatic transformations and more about steady, careful attention that keeps your collection looking the way its makers intended.