Pre-Display Inspection: A Fresh Routine for Printed Car Models
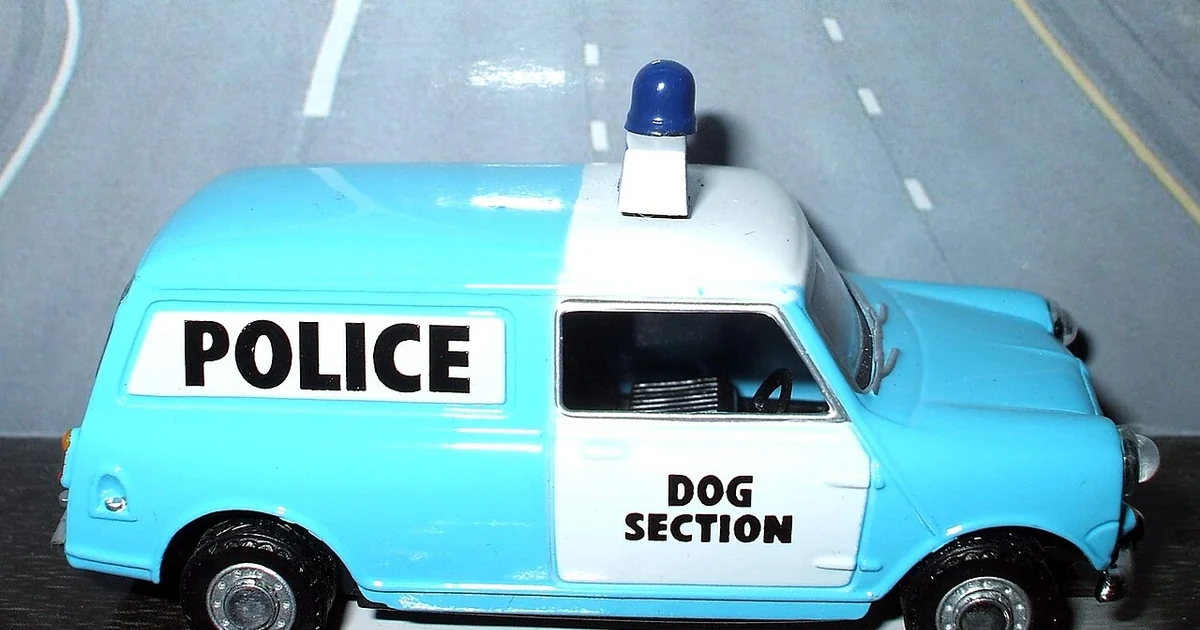
Most collectors inspect a model car once, when it arrives, and then rarely look at it closely again. A printed model changes over time. Joints loosen, paint edges wear where fingers rest, and small parts can slip out of alignment after a few months on a shelf. A pre-display inspection is a short, repeatable check you run before a piece goes onto a display surface. It catches small problems early, when they are simple to correct, and it gives you a consistent record of how each piece looks at the moment it goes out for viewing. This article describes a method you can apply to any printed car in your collection without special equipment.
Why Inspect Before Display Rather Than After
Display is the moment a model becomes visible, handled, and sometimes rearranged. A shelf nudge, a bump from a neighboring piece, or the act of repositioning a model to photograph it can all shift parts that were fine the week before. Inspecting before placement means you examine the model in a neutral state, without the pressure of a finished display, and you can correct issues while the piece is still on the workbench.
The practical advantage is that you separate two questions: whether the model is sound, and whether it looks right in its planned spot. Mixing these leads to rushed decisions. A loose wheel might be acceptable on a closed shelf but a problem on an open one that gets touched often. Treating inspection as its own step keeps those decisions clear.
The Five-Point Check
Start with the joints. For articulated pieces such as wheel assemblies, hinged doors, or steering linkages, move each joint through its normal range by hand. Note any play that feels larger than the last time you checked, any grinding, and any resistance that changed. Record the joint name and a simple rating, such as normal, slightly loose, or needs attention. Consistent wording makes trends visible over months.
Next, examine contact surfaces. Look at the places where fingers, bases, or neighboring models touch the printed body. Edges and raised detail are the usual sites of wear. Under bright, angled light, scratches and dulled finish often show more clearly than under direct overhead light. Compare against your previous notes if you have them.
Third, check the base and stand. Confirm the model sits level and does not rock. A base that was flat when mounted can warp slightly with temperature changes, and an unstable stand is a common cause of falls.
Fourth, look at attached small parts such as mirrors, antennas, spoilers, and badges. Gently test whether each is still firmly seated without applying force that could break it. If something has moved, decide whether to re-secure it now or flag it for a dedicated repair session.
Fifth, review the environment. Note the intended location's light exposure, nearby heat sources, and whether the spot is reached by hands often. Some pieces are better suited to closed cases, and writing this down protects them from placement decisions you may later regret.
Recording What You Found
A written record turns inspection into a history. Keep a simple sheet or file for each model with the date, the five check areas, and a one-line status. Photograph any surface wear you notice so that a later comparison is possible. Photos taken under the same lighting conditions are far more useful than photos taken whenever convenient.
Resist the urge to write conclusions you cannot support. If a joint feels loose, record that it feels loose and when you tested it. Avoid guesses about cause unless you have evidence. Honest, plain notes are more valuable than polished but speculative ones.
A Practical Checklist
Before any model goes on display, ask these questions. Does every articulated joint move smoothly through its normal range without new play? Are contact edges free of fresh scratches or finish loss compared with the last record? Does the base sit level and stable on the intended surface? Are all attached small parts firmly seated without force? Is the chosen location free of direct sun, heat sources, and heavy traffic, or is a closed case planned? Did you log today's findings with a date and a short status for each area?
If you answer no to any question, decide whether the issue is minor enough to display with a note, needs correction first, or calls for a closed display. Most inspection problems are resolved by re-seating a part, adjusting a base, or moving a piece to a better location, so the routine rarely requires major intervention. Over time, the habit makes your collection easier to manage and your display decisions easier to defend.