Testing a Collectible's Claim Against Its Own Evidence Trail
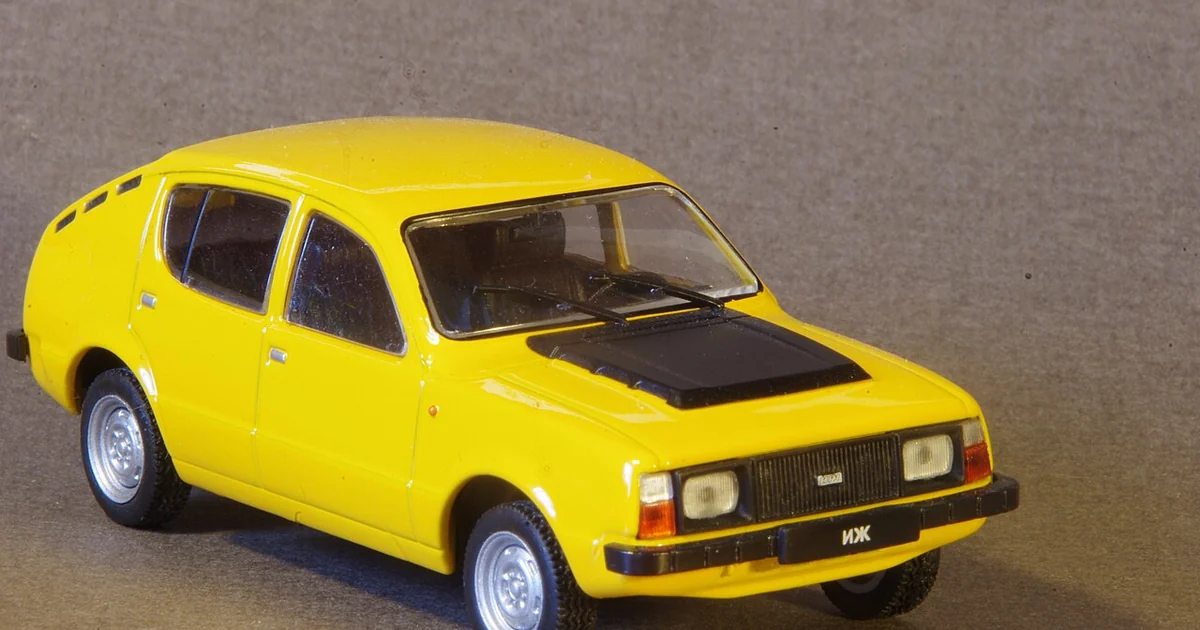
Most collectors who worry about authenticity are not really worried about the object in front of them. They are worried about the gap between what a seller says, what a tag shows, and what they can personally confirm. Closing that gap takes a method rather than a hunch. This article walks through a way of sorting the evidence around a printed model car so that each claim is tested against the right kind of proof. The goal is not to reach a verdict based on confidence or enthusiasm. It is to know exactly which part of a claim you have checked and which part you are still taking on trust.
Separate the claim into its parts
A statement like 'this is an authentic piece from a known run' bundles several separate assertions together. It may mean the object was made by the stated maker, that it matches a particular design, that it was produced within a stated window, or that it has not been altered since leaving the workshop. Each of these needs different evidence. Before you evaluate anything, write the claim as a short list of individual statements. This habit alone prevents a common error, where a single verified detail quietly stands in for the whole story.
Once the claim is split apart, label each item by how it could be checked. Some items can be examined directly on the object, such as paint finish, print layering, or the presence of a particular label. Others depend on records held by a seller or a previous owner. A few cannot be checked at all by an individual collector. Being honest about which category each item falls into is the foundation of the rest of the method.
Understand what a tag scan can and cannot establish
Mint Motors Club describes a QR-code check that verifies a 3D printed car's authenticity by scanning the tag, using Ed25519 cryptographic verification. In practical terms, this kind of check is designed to answer a narrow question: does this tag correspond to a record that the verification system recognizes? A successful scan is useful evidence that the tag itself is genuine and that it links to a recognized record. It is not the same as a full history of the object.
Collectors should therefore be careful about what a scan result is allowed to settle. A scan can tell you that a tag is valid. It does not, by itself, tell you that the tag was never moved from one object to another, that the seller is the rightful owner, or that the physical part under the tag matches the record in every respect. Keeping those questions separate prevents a verified tag from being treated as a verified collection history. When a scan confirms one link in the chain, make a note of which link it was, and look for other evidence for the links it cannot cover.
Build a three-column evidence check
A workable format is a simple three-column table, which you can keep as a plain text file or a paper sheet. The first column lists each claim from your earlier breakdown. The second column records the evidence you have directly observed or verified, such as a successful tag check or a visual match against reference photos you trust. The third column records what remains unverified and what you are relying on the seller or prior owner to supply. Writing the third column is the step most people skip, and it is the most useful one, because it tells you exactly where your risk sits.
When you finish, read the table from top to bottom and ask whether the unverified column is acceptable for the price and purpose you have in mind. A collector buying a display piece for personal enjoyment may accept a larger unverified column than someone acquiring a piece for a specific resale or a documented collection. The point is not to reach a universal standard but to make your own tolerance for uncertainty explicit before money changes hands.
Questions to put to a seller before you commit
A seller who can answer specific questions clearly is giving you useful information even before you see proof. Ask where the piece was acquired and whether the seller holds any record of that transaction. Ask whether the tag has been scanned and what the result displayed, and ask for the date of that scan. Ask whether the piece has been repaired, repainted, or had any parts replaced, and if so, which parts. Ask whether any accessories or original packaging came with it, and whether those items match what the seller describes.
Pay attention to how the seller responds, not only to what they say. Vague answers, reluctance to let you examine the object, or a sudden insistence on a quick decision are reasons to slow down. None of these prove wrongdoing, but they reduce the amount of evidence you can rely on, and they should be reflected in the unverified column of your table.
A short checklist before you rely on a claim
Before treating a claim as settled, work through a short list. First, confirm you have split the claim into separate statements. Second, confirm that each statement is marked as directly verified, documented by a third party, or unverified. Third, confirm that a tag scan, if you performed one, is recorded with its date and the specific result it showed, and that you have not extended that result beyond what it covers. Fourth, confirm that you have asked the seller the questions listed above and noted their answers. Fifth, confirm that the unverified items are ones you can accept at the price you are paying.
Keep this checklist with your records for each piece. Revisiting it later, perhaps when reselling or adding the piece to a catalogue, will show you how your understanding developed and which gaps you chose to accept. A method like this will not remove every uncertainty from collecting, but it will make your decisions traceable, and that is usually the difference between a collection you can defend and one you can only hope about.