Building a Collection Record That Survives Your Own Memory
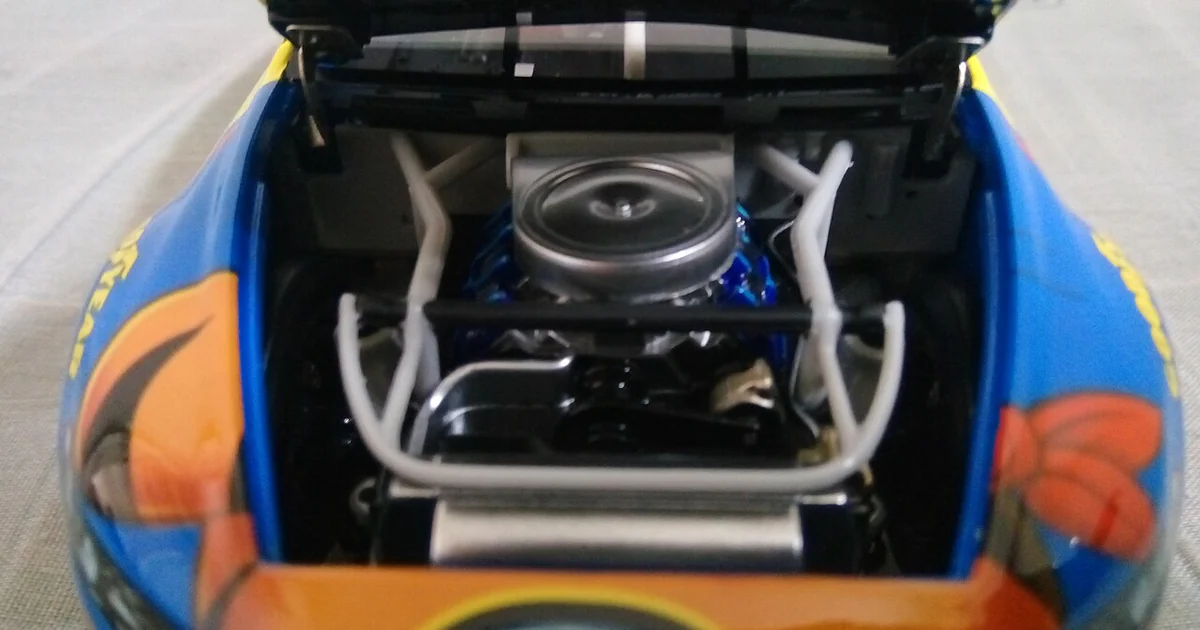
Most collectors can name the model, the scale, and roughly where a piece came from. Far fewer can answer detailed questions a year later: which tag was attached at purchase, what the finish looked like before a shelf move, or whether a moving part was adjusted after a repair. A written and photographed record closes that gap. This article focuses on a documentation approach you can apply to any collection, whether it holds diecast replicas, resin kits, or 3D printed models. It describes general methods and the questions worth asking, not any particular product's features.
Start With a Single Record per Object
The most useful habit is to give every piece its own record rather than storing notes in a general list. A record is a short file, card, or spreadsheet row dedicated to one object. It should have a stable identifier you assign yourself, such as a simple sequence number written on the underside of the base in discreet ink or recorded on a label inside the display case. Numbering keeps records linked to physical objects even when two pieces look nearly identical.
Within each record, separate what you observed from what you were told. Observations include measured dimensions, weight, colorway, visible markings, and the condition on a given date. Statements from sellers, forums, or packaging belong in a separate field labeled as claims. Keeping these apart prevents a helpful seller's remark from quietly becoming a fact in your own files years later.
Capture Identity Details Before Anything Else
Identity details are the fields you will be most grateful for later. Record the model name as printed, the scale, the manufacturing or printing method if known, the color names exactly as they appear, and any serial, batch, or lot marking. Note where each marking sits, since a number stamped inside a wheel well is easier to lose than one on the base. Measure the overall length, width, and height with the same tool each time so future measurements can be compared.
For printed or hand-built pieces, also record the material, the layer or finish type if you can tell, and any post-processing such as sanding, priming, or paint. These details explain why two pieces that look alike can behave differently under light and handling.
Photograph on a Schedule, Not Only When Something Goes Wrong
Photographs are the strongest evidence of condition, but they only help if they are comparable. Choose a fixed background, a consistent light source, and a fixed camera distance. Take the same set of views each time: front three-quarter, rear three-quarter, side profile, underside, and close-ups of any joints, wheels, or tags. Store the date in the filename or metadata so the sequence is obvious.
A reasonable rhythm is a photo set at acquisition, after the first display setup, and then once or twice a year. Between sets, log any change you notice, such as a fresh scuff, a loosened hinge, or a paint lift. A written note with a date is often more useful than a dozen unlabeled photos.
Track Condition Changes and Handling History
Condition records work best as a running timeline. For each object, note the date, the observed state, and the likely cause if known. Examples include moved to a new shelf, exposed to direct sunlight for several weeks, or joints re-tightened after a visitor handled it. Over time this timeline explains why a piece looks different and helps you decide whether a change is cosmetic or structural.
Record any repairs, touch-ups, or adjustments with the same care. Note the materials used, such as the adhesive or paint brand and color code, because a future repair will need to match them. If you replaced a part, record where the replacement came from and whether the original is stored separately.
A Practical Checklist and Comparison
Use the following checklist when you add a piece to your collection. First, assign a sequence number and create its record. Second, enter identity details: name, scale, colorway, markings, and dimensions. Third, separate claims from observations and list each claim with its source. Fourth, take the standard photo set under your fixed lighting. Fifth, note the storage location and the date it went on display. Sixth, schedule the next review date in your calendar.
Compare two common approaches. A spreadsheet is fast to sort and search, making it good for finding every piece in a given display zone or every item with an open repair. A paper or document-based file, with printed photos and handwritten notes, is harder to search but holds richer narrative detail and is less dependent on software. Many collectors use both, keeping the spreadsheet as the index and the detailed file as the story. Whichever you choose, back up your digital records to a second location and keep printed copies of key photos somewhere safe.
Finally, ask a few direct questions of every record: Could a stranger identify this piece from my notes alone? Can I show what it looked like at acquisition? Do I know which claims I have verified and which I have only accepted? If the answer to any of these is no, that gap is the next entry to fill.