Sorting a Model Car Collection by Storage Environment, Not Scale
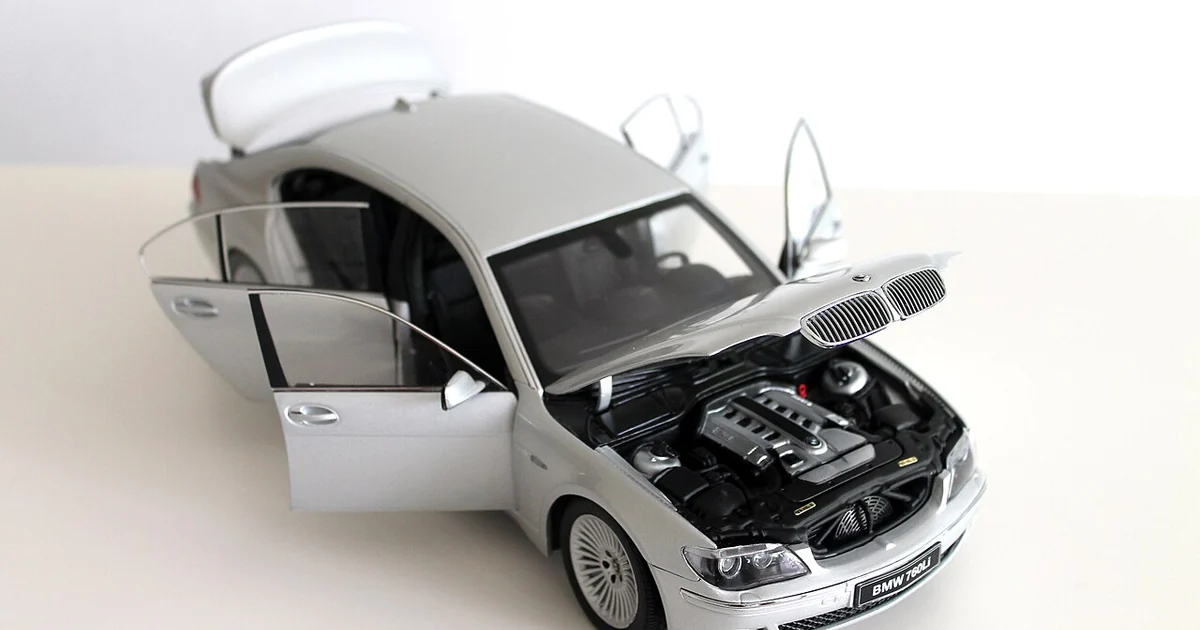
Most collectors start organizing by the obvious categories: scale, manufacturer, or the year a model entered the shelf. Those groupings make browsing easy, but they say little about how each piece actually survives over time. A 1:43 resin body and a 1:18 model with thin painted mirrors may sit side by side and face entirely different risks from the same window light. This article offers a different sorting logic: group the collection by the environment each piece needs, then build the physical layout around those zones. The method works whether your collection holds a handful of display pieces or several hundred models across mixed materials.
Start With an Inventory of Materials, Not Names
Before you move a single model, write down what each one is made of. Diecast metal, ABS plastic, resin, paint with clear coats, rubber tires, and printed filament all respond differently to heat, UV exposure, and handling. A simple column in a spreadsheet, with entries like metal, plastic, resin, or mixed, gives you the raw data you need. Many collectors discover that their most fragile pieces are not the most expensive ones but the ones with thin, separately attached components such as antennae, wipers, or exposed axles.
Note any movable parts as well. Doors that open, steering that turns, suspension that flexes, and articulated joints all create stress points. Mark these with a separate flag in your inventory. Pieces with moving parts usually belong in a zone where they can be checked and cycled gently, rather than locked behind glass where neglect goes unnoticed.
Define Three Storage Zones by Environmental Risk
A practical layout uses three zones. The first is a protected display zone, usually a closed cabinet away from direct sunlight, with stable temperature and modest humidity. Pieces here are the ones you look at most and that have the least tolerance for light-induced fading or paint yellowing. The second is a handling zone, a shelf or drawer near your work area where models are taken out for inspection, cleaning, or photography. Keeping these pieces close reduces the number of trips they make across the room. The third is a reserve zone for pieces you rarely access, stored in closed containers with silica gel or similar desiccant and kept out of heat sources such as radiators and electronics.
The point of zoning is not perfection. A cabinet near a window may still get indirect light, and a basement may run damp. What matters is that you know which zone is which, and that you move a piece between zones deliberately. Record the zone in your inventory so the location and the environmental reasoning stay linked.
Sort Within Zones by Handling Frequency
Inside each zone, arrange pieces by how often you touch them. Models you handle weekly belong at the front or the lower shelves where reaching is easy. Models you handle yearly can sit higher or deeper. This keeps frequent handling away from the most delicate display pieces and reduces the chance that a rarely seen model collects dust or damage without anyone noticing.
A useful habit is to log the date of your last inspection for any model with moving parts. This does not require elaborate software. A notebook with a line per model, a date, and a one-word condition note such as stable, loose, or cleaned will do. Over several months, the log reveals which zones or shelves produce wear, and that information is more reliable than memory.
A Practical Checklist for Your First Reorganization
Work through these steps in order. First, complete the material inventory and flag every model with moving parts or thin attachments. Second, measure the light and temperature in each candidate area over a few days, using a basic thermometer and hygrometer; the readings matter more than the room's reputation. Third, assign each model to a zone based on its materials and flags. Fourth, sort within zones by handling frequency and leave clear space at each shelf edge so pieces are not crowded against one another. Fifth, record the zone and location in your inventory.
Finally, ask a few questions before you close the cabinet. Does any model rest on a surface that traps moisture? Are any pieces touching each other in a way that could scratch paint or stress a joint? Is there a clear path to reach the reserve zone without disturbing the display? If an answer is uncertain, adjust the layout and check again in a month. A collection organized this way is easier to maintain, and each model's needs are visible in the structure of the shelves rather than hidden in your memory.