Photographing and Logging Model Car Details: A Condition-First Method
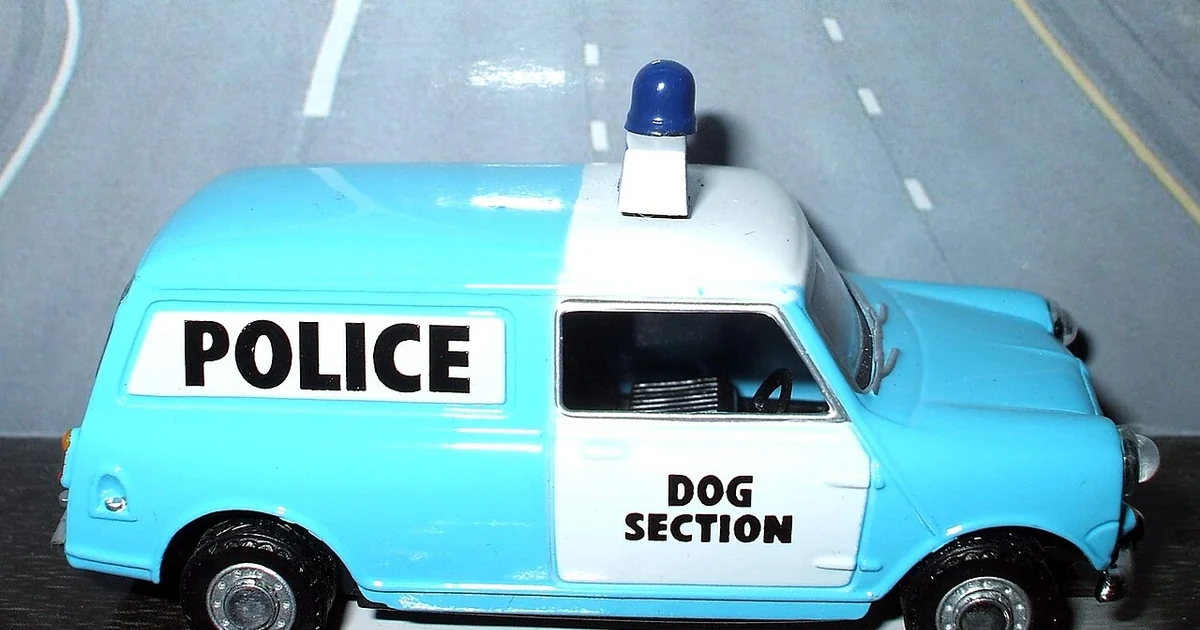
Most collectors remember the moment they bought a model car far better than they remember what it looked like a year later. Condition changes slowly: a paint sheen dulls, a hinge loosens, a decal lifts at one corner. Without a baseline, those changes are easy to miss and hard to date. This article describes a condition-first documentation method that uses photographs, notes, and simple measurements to keep a reliable picture of each model over time. It does not depend on any particular tool or service. It is a set of habits you can apply to any collection, whether it holds ten pieces or several hundred.
Start With a Baseline Photo Set
The first record for any model should be taken on the day it enters your collection, before it is moved to a shelf, a case, or a display stand. Set the model on a plain, neutral surface and use even, diffuse light rather than a single harsh lamp, because strong directional light hides surface texture and exaggerates glare. Shoot the car from the front, rear, both sides, top, and underside, and add close-ups of any feature you care about: wheels, lights, panel gaps, interior glazing, and any moving parts.
Keep the frame consistent from piece to piece. A ruler or a small reference card in one corner of each shot helps you compare scale later and makes it obvious when a photo was taken at a different distance. Name each file with the model identifier and the date, for example a short code followed by the year, month, and day. Consistent naming matters more than fancy equipment, because a future you will search for files by date and model, not by camera settings.
Write a Condition Note You Can Compare Against
Photos show appearance, but notes capture the things a photo cannot: how a joint feels, whether a panel sits flush, or whether a wheel turns freely. Write a short condition note at the time of the baseline, using the same categories every time. A useful set of categories includes surface finish, paint or color consistency, edge sharpness, fit of separate parts, movement of any articulated joints, and presence or absence of decals, labels, or stands.
Describe each category in plain terms and avoid vague words like good or fine. Instead of writing that a door is fine, write that the door closes with a light touch and sits level with the body line. A note like that gives you something concrete to test against during your next review. When you revisit the piece months later, you are comparing observations rather than trying to recall a feeling.
Measure What Changes Quietly
Some changes are small enough that you will not notice them by eye but will be obvious with a measurement. For articulated pieces, measure how far a joint travels from a fixed starting position, using a mark on a shadow board or a fixed reference photo. Record the angle or distance and the date. If the same joint travels further in six months, you have a documented trend rather than a hunch.
For static pieces, consider recording the overall length, height, and wheelbase with a caliper or a rule, and note the measurement method. Repeat the same measurement at each review. Small shifts in measurement can reveal slight warping or settling that would otherwise go unnoticed, and a written record of those numbers gives you a basis for deciding whether a piece needs attention.
A Practical Review Checklist
Set a review cycle that fits your collection, such as twice a year for display pieces and once a year for pieces kept in storage. At each review, work through a short checklist in order: confirm the shelf position and light exposure, take the same set of photos from the baseline angles, compare the new images side by side with the originals, and re-read your condition note against the piece in hand.
Then check the moving parts and fittings: test each articulated joint through its normal range, note any resistance or looseness, and confirm that separately attached parts remain secure. Finally, update the log with the date, your observations, and any action taken, even if the action was simply moving the piece to a different spot. A log that records no change is still valuable, because it proves the piece was reviewed and stable.
Questions to Ask Before You Trust Your Own Record
A documentation method is only as good as the questions you ask of it. Before relying on a record, ask whether the photos were taken under comparable light, whether the measurement tool was the same, and whether the note was written at the time of observation or reconstructed later. Ask whether the log distinguishes between what you saw and what you inferred. Ask whether anyone else could follow your record and reach the same conclusions.
These questions are not a sign of distrust in your own care. They are the same questions a careful collector applies to any claim about a model, including claims made by sellers or marketplaces. Keeping your own records honest and checkable is the most reliable foundation a collection can have, and it makes every future decision about display, storage, or sale easier to justify.