Mint Motors Club: Caring for 3D Printed Model Cars Between Display Sessions
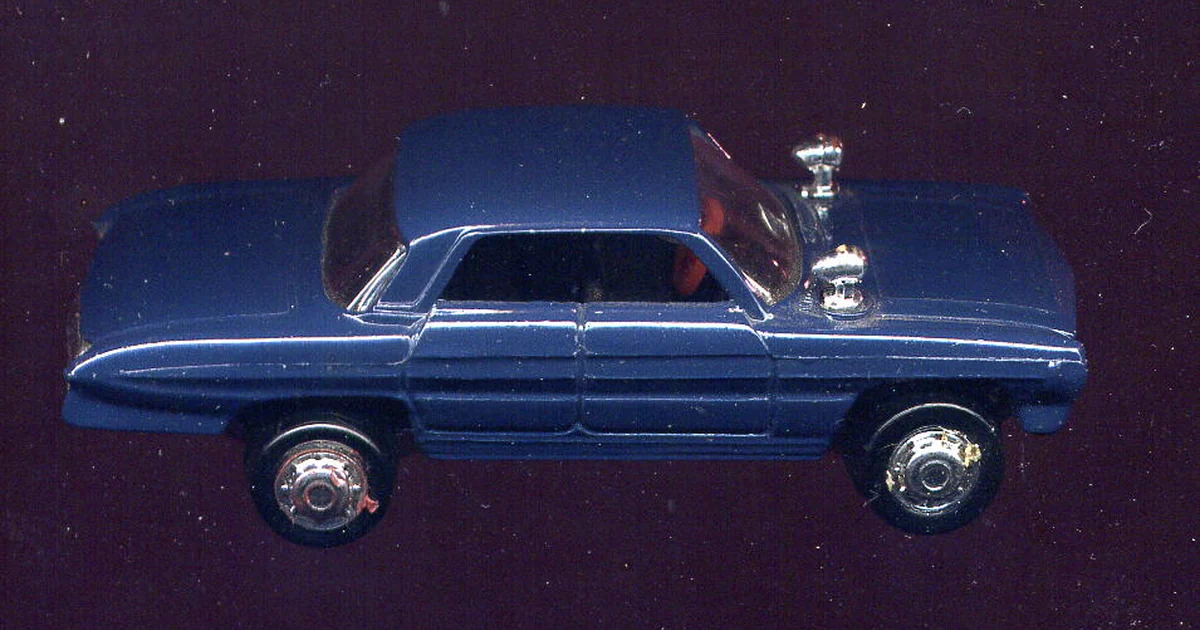
Mint Motors Club works with auto enthusiasts and collectors who own 3D printed model cars, and many of those owners eventually notice that a piece which looked perfect on the shelf has changed. A hinge loosens, a sliding panel sticks, a paint edge chips, or a surface picks up a film of dust that is hard to remove. None of these problems is dramatic on its own, but over months and years they add up. This article describes a care approach built around routine observation rather than a single fix, so that you catch small changes early and understand what is causing them.
Understand what your printed model is made of
Before choosing any care habit, identify the material and the finish. Printed models are commonly made from thermoplastics such as PLA, PETG, or ABS, and each reacts differently to heat, sunlight, humidity, and solvents. PLA softens at relatively low temperatures, so a model left on a dashboard or near a window in summer can warp or develop a dull, slightly tacky surface. PETG tolerates heat better but can still creep under sustained load. ABS is tougher but can yellow with prolonged UV exposure.
Finish matters as much as base material. Primer, paint, clear coat, and decals each have their own sensitivities. Some clear coats cloud when wiped with alcohol-based products, and some decals lift at the edges when exposed to moisture. If you do not know the exact materials used on a piece, record what you can observe, such as whether the surface is matte, satin, or glossy, and avoid testing aggressive cleaners on it until you understand the finish.
Build a simple inspection routine for moving parts
Articulated parts such as hinged doors, hood latches, steering linkages, and sliding trunks are where printed models most often show wear. Check these components at a fixed interval, perhaps once a month for pieces on active display and once every few months for stored pieces. Move each joint slowly through its full range and note any grinding, catching, looseness, or unexpected resistance.
A useful habit is to compare the current feel with a baseline you recorded when the piece was new or when you first added it to your collection. Write down what a smooth joint felt like, then compare. Gradual changes are easier to notice this way than they are from memory. If a joint starts to bind, stop moving it before forcing it, because excess force is a common cause of cracked hinge pins and split print layers.
Clean gently and test first
Dust is the most common surface problem, and the safest approach is usually the least aggressive one. Start with a soft, dry brush or a microfiber cloth, working from the top of the model downward so loosened dust does not settle on cleaned areas. Compressed air can help reach grille openings and wheel wells, but hold the nozzle at a distance and use short bursts, since strong airflow can work loose small trim pieces.
If a surface needs more than dry cleaning, dampen a cloth with plain water and a small amount of mild soap, then wring it thoroughly. Test any product on a hidden area first, such as the underside of a chassis, and wait a full day to see whether the finish changes. Avoid soaking the model, and dry it immediately with a clean cloth. Water that gets into joints, seams, or unsealed interiors can cause swelling or staining that is difficult to reverse.
Control light, heat, and handling
Environment does more damage over time than most cleaning mistakes. Keep printed models away from direct sunlight, heating vents, and any surface that gets warm to the touch. Indirect light is gentler on color and decals. If you use display lighting, prefer lamps that run cool, and check periodically whether the model is getting warm after long sessions.
Handling habits are equally important. Lift a model by its body or base rather than by mirrors, antennas, or thin spoilers, which are prone to snapping. Wash your hands before touching a model with a light-colored finish, because skin oils can leave marks. When moving a piece between locations, support it fully and keep moving parts secured with a soft tie or a padded cradle so they cannot swing against the body.
A practical checklist for each care session
Use a short checklist so care stays consistent. First, confirm the display location is free of direct sun and heat sources. Second, dust the model with a dry brush or microfiber cloth, top to bottom. Third, move each articulated part through its full range and note any change in feel. Fourth, examine edges, decal borders, and paint seams under good light for lifting, chipping, or hairline cracks. Fifth, if you cleaned with moisture, confirm the piece is fully dry before returning it to display. Sixth, update your care log with the date, what you observed, and any action taken.
Keep the log in a simple format, such as a notebook or spreadsheet with columns for date, model name, observations, and actions. Over time this record shows which pieces are stable and which need closer attention, and it helps you spot patterns, such as a particular display shelf that warms up in the afternoon. The goal is not perfection but early awareness, so that a small loose hinge is tightened before it becomes a broken part.